Redemption Cemetery – Clock Of Fate
Chapter 1: The Subway
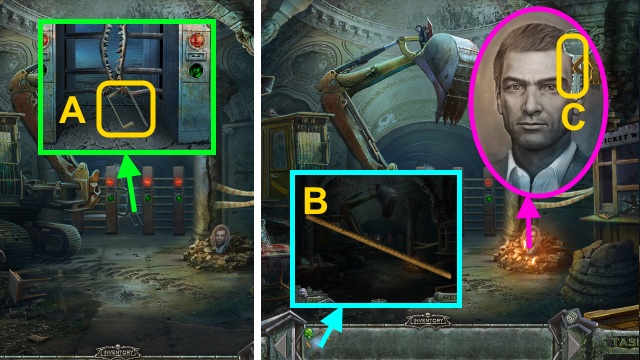
- Walk forward.
- Take the BENT RULER (A).
- Unbend the BENT RULER; take the RULER (B).
- Take the KEY (C).
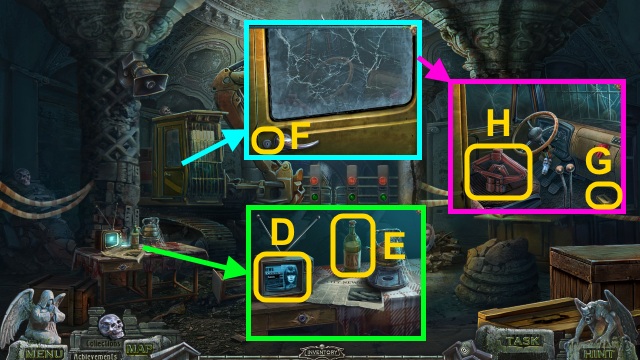
- Examine the TV (D); take the GAS (E).
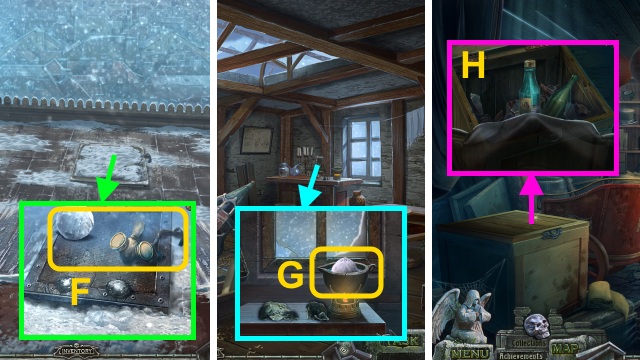
- Use the KEY (F); open the door.
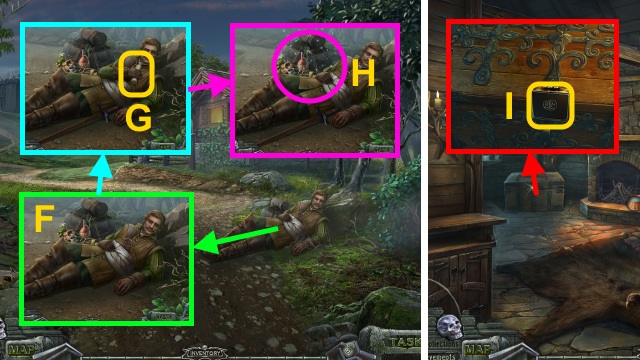
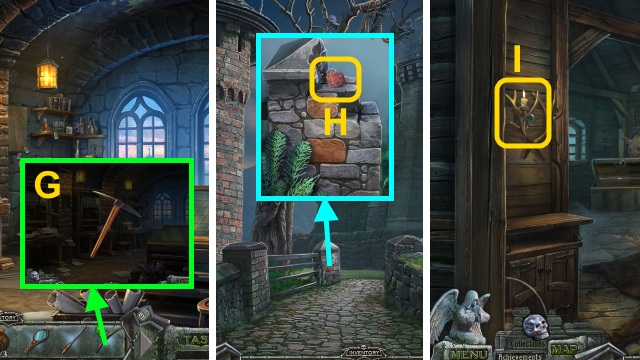
- Take the NUMBERS (1/7) (G) and JACK (H).
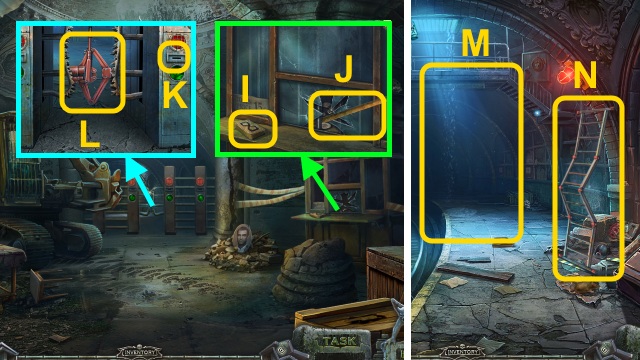
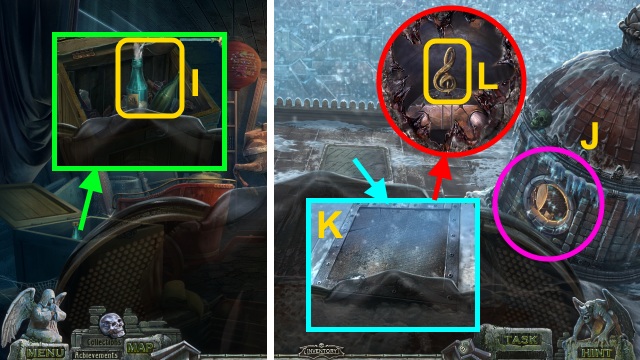
- Take the NUMERS (2/7) (I).
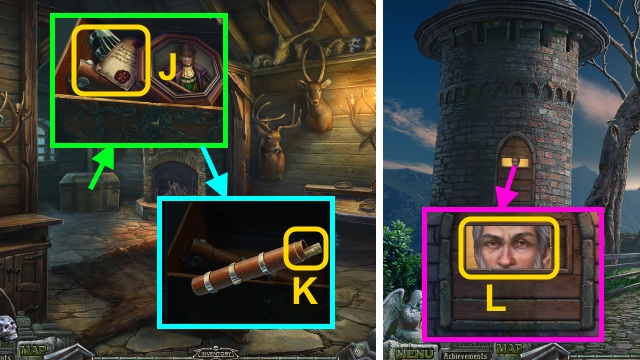
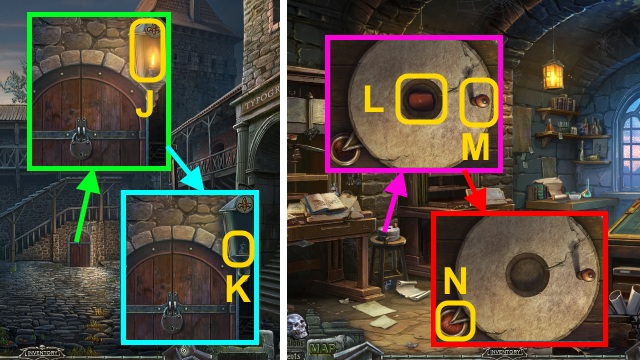
- Use the RULER (J); take the TOKEN.
- Use the TOKEN (K); use the JACK 2x (L).
- Walk forward.
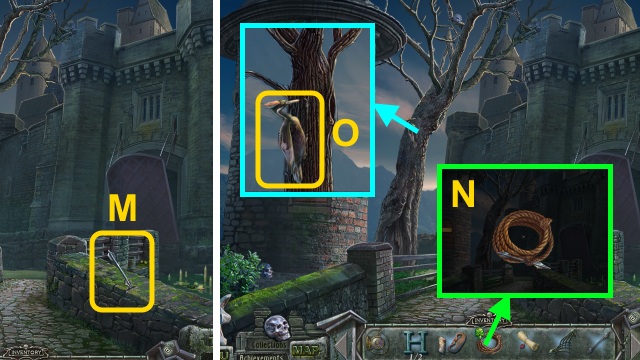
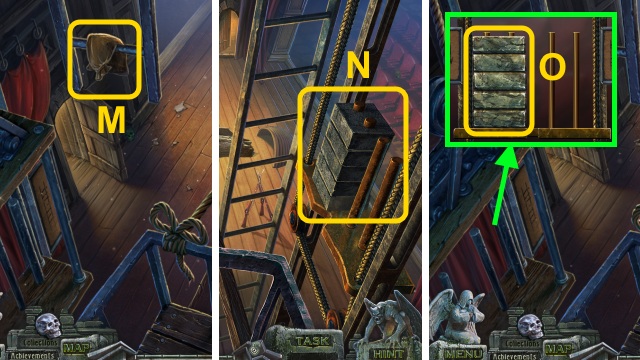
- Examine the tunnel (M).
- Move the ladder (N).
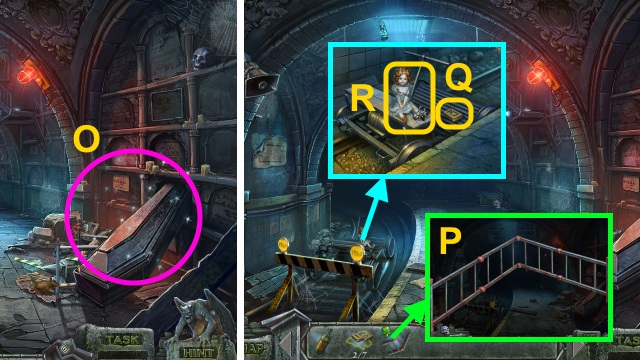
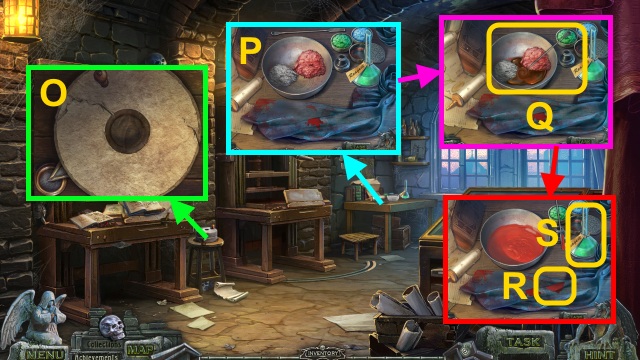
- Play the HOP to receive the LADDER (O).
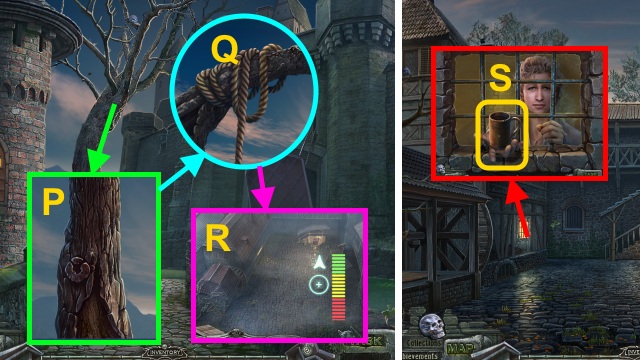
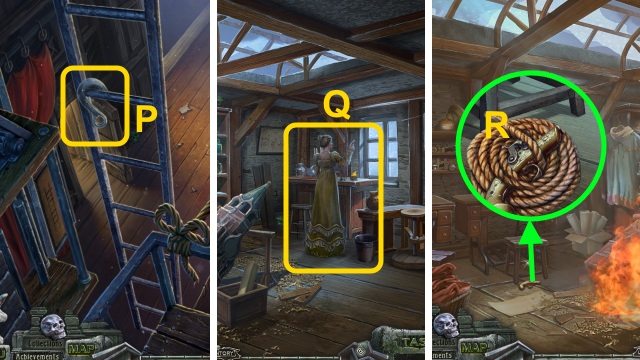
- Unfold the LADDER (P).
- Take the NUMBERS (3/7) (Q), BUG (1/3), and DOLL (R).
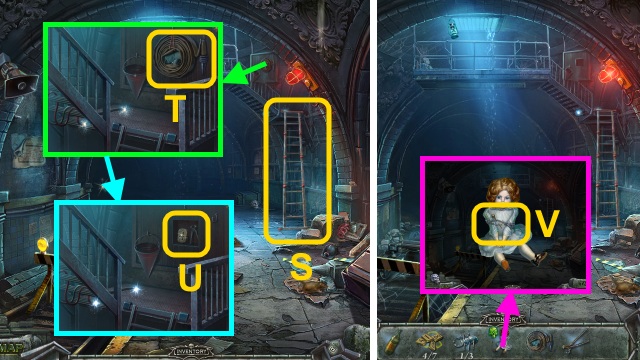
- Place the LADDER (S).
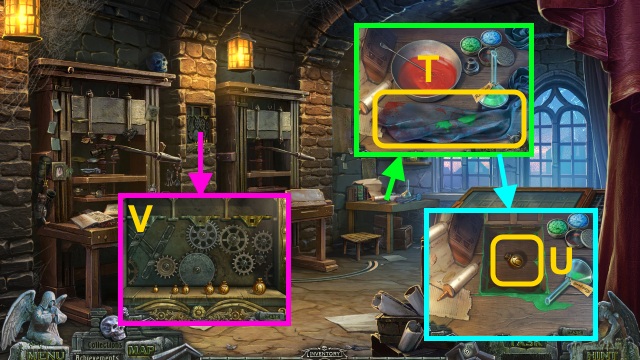
- Take the HOSE (T), CUTTERS, and NUMBERS (4/7) (U).
- Use the CUTTERS on the DOLL (V); take the PIN.
- Walk down.
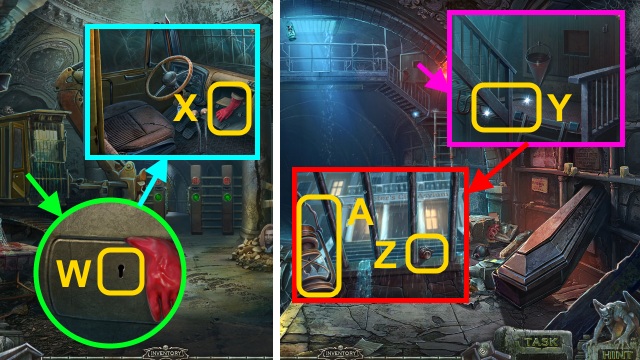
- Use the PIN (W); take the GLOVE (X).
- Walk forward.
- Use the GLOVE (Y); scroll left.
- Examine the building; take the KNOB (Z) and LAMP (A).
- Walk down.
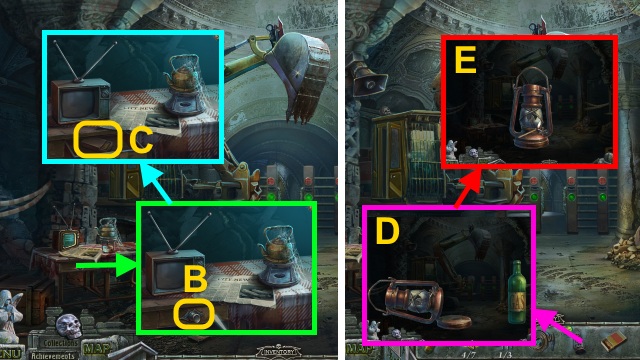
- Place the KNOB (B); open the drawer.
- Take the MATCHES (C).
- Open the LAMP; use the GAS (D).
- Close the LAMP; use the MATCHES (E).
- Receive the LIT LAMP.
- Walk forward.
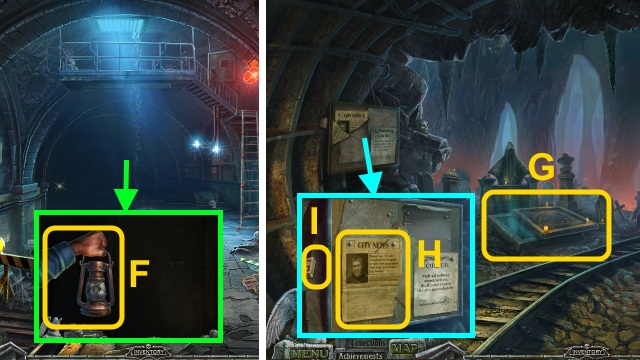
- Use the LIT LAMP (F); examine the lamp 2x.
- Examine the grave (G).
- Place the pieces; take the NEWSPAPER (H) and NUMBERS (5/7) (I).
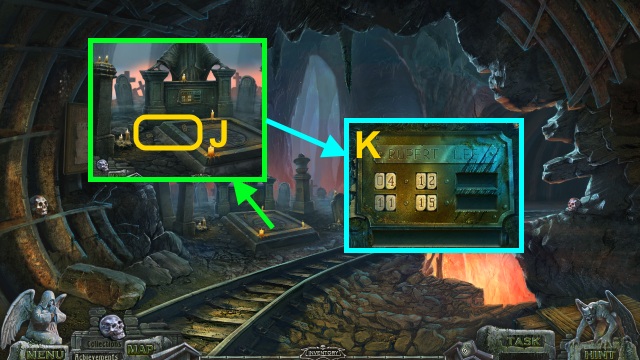
- Take the NUMBERS (6/7) and NUMBERS (7/7) (J).
- Place the NUMBERS (7/7) and NEWSPAPER for a mini-game (K).
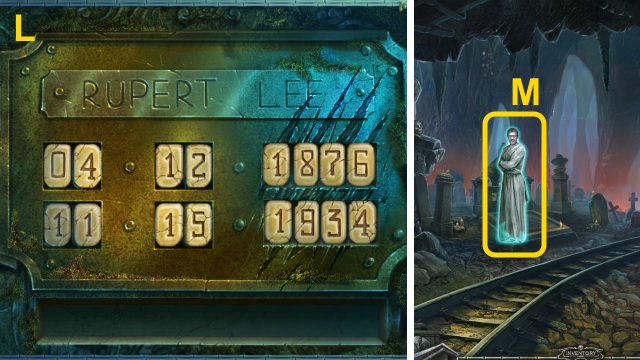
- Solution (L).
- Talk to Rupert (M).
- Walk forward.
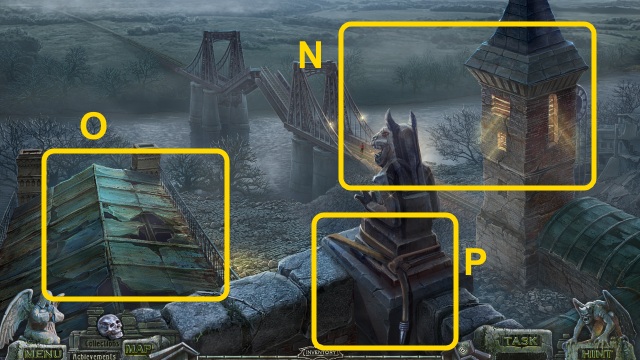
- Examine the bridge (N).
- Examine the roof (O).
- Place the HOSE (P); examine it for a mini-game.
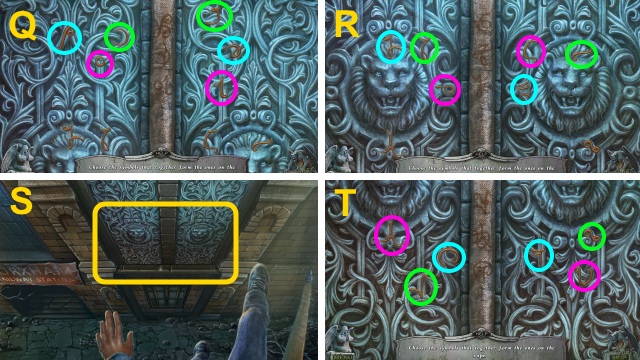
- Solution (Q-T).
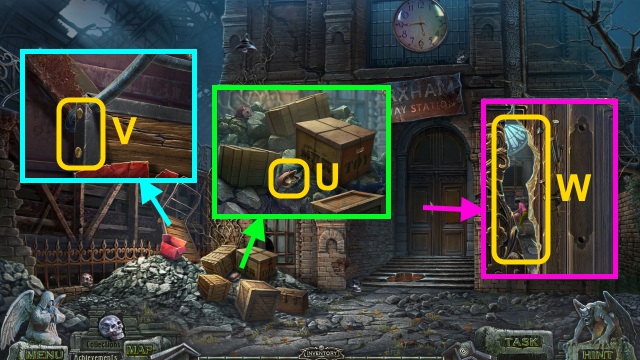
- Open the purse; take the COIN (U).
- Take the BOLTS (V).
- Examine the door (W).
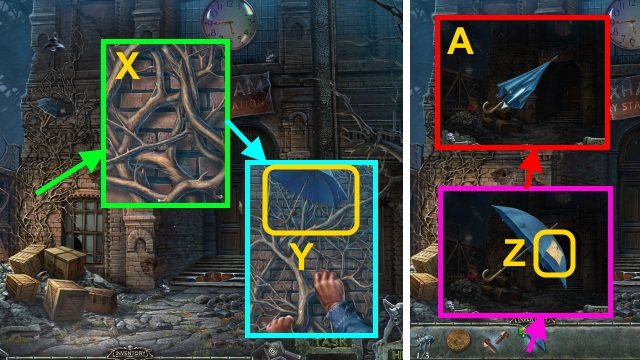
- Climb 6x (X); take the UMBRELLA (Y).
- Examine the UMBRELLA; read the schedule (Z).
- Close the UMBRELLA (A).
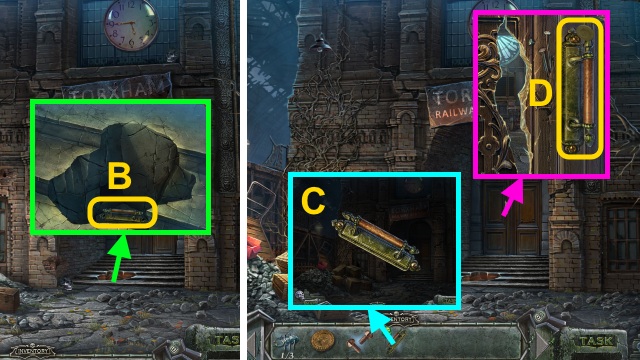
- Use the UMBRELLA; receive the BROKEN HANDLE (B).
- Combine the BROKEN HANDLE and BOLTS (C); take the HANDLE.
- Place the HANDLE; use the COIN 2x (D).
- Open the door.
- Walk forward.
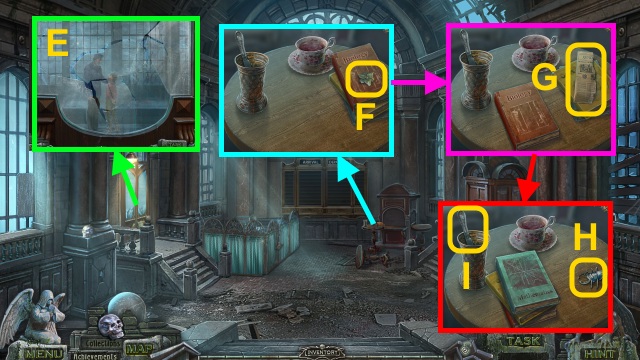
- Examine the room.
- Move the glass (E).
- Take the LILY (1/3) (F); move the book.
- Take the PIECE OF PAPER (G); move the books.
- Take the BUG (2/3) (H) and KNIFE (I).
- Walk down.
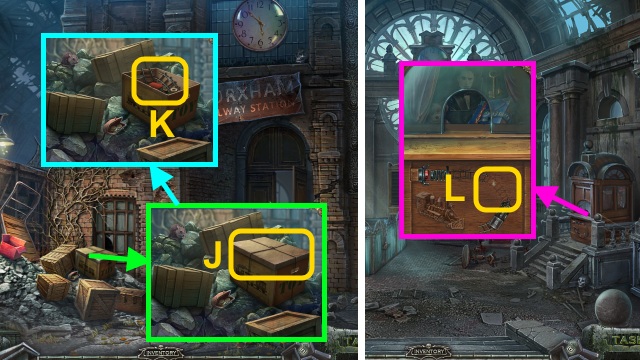
- Use the KNIFE (J); open the box.
- Take the TRACK (K).
- Walk forward.
- Place the TRACK (L).
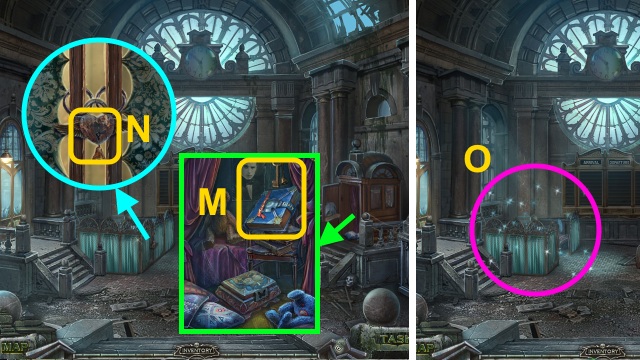
- Take the KEY and IVY’s DIARY (M).
- Use the KEY (N).
- Play the HOP to receive the BUG (3/3) (O).
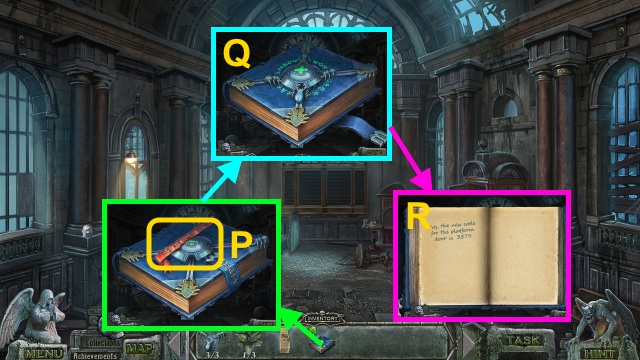
- Examine IVY’S DIARY; move the ribbon (P).
- Place the BUG (3/3); move them (Q).
- Flip through the diary; take the NOTE WITH CODE (R).
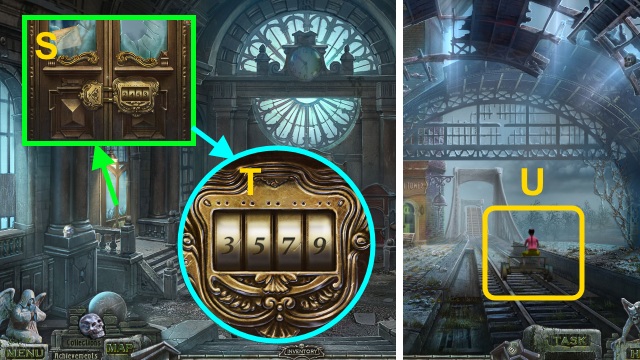
- Use the NOTE WITH CODE (S); examine the code.
- Enter the CODE (T); open the door.
- Walk left.
- Examine Ivy (U).
- Walk forward.
Chapter 2: The Clock of Fate
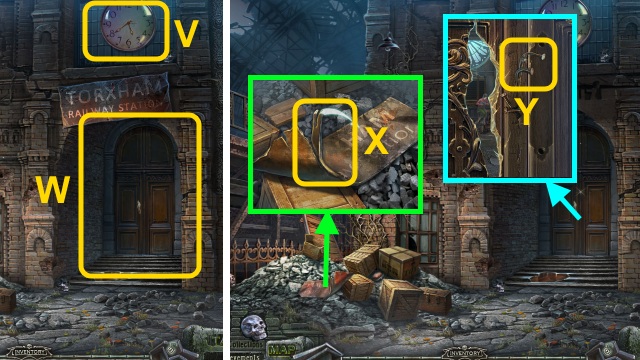
- Examine the clock (V); examine the door (W).
- Bend the sign (X); receive the NAIL PULLER.
- Use the NAIL PULLER (Y); open the door.
- Walk forward.
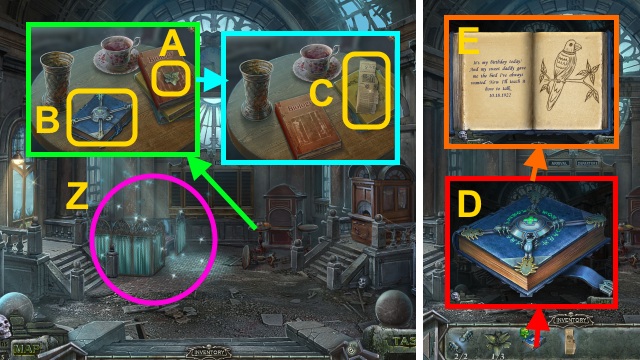
- Move the screen; play the HOP to receive the BUG (2/2) (Z).
- Take the LILY (1/3) (A) and IVY’S DIARY (B); move the BOOK.
- Take the PIECE OF PAPER (C).
- Place the BUG (2/2) on IVY’S DIARY (D); open the book.
- Take the NOTE WITH CODE (E).
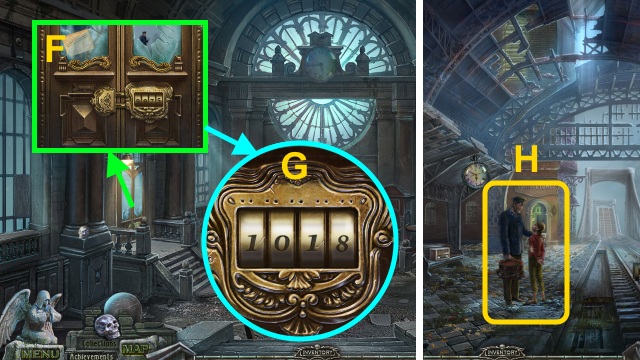
- Use the NOTE WITH CODE (F).
- Enter the code (G); open the door.
- Walk left.
- Examine Ivy (H).
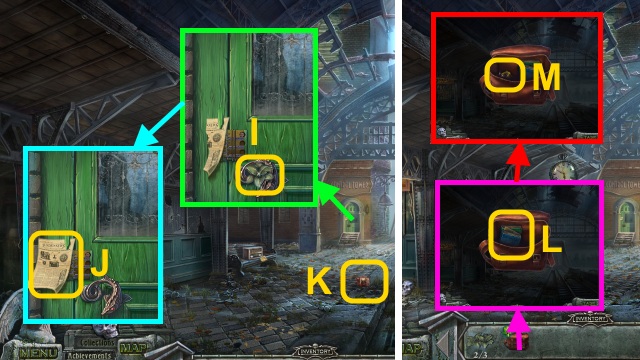
- Take the LILY (2/3) (I).
- Place the PIECE OF PAPER (J); read the newspaper.
- Take the BAG (K).
- Open the BAG; move the books and paper (L).
- Take the GEAR (1/2) (M).
- Walk forward.
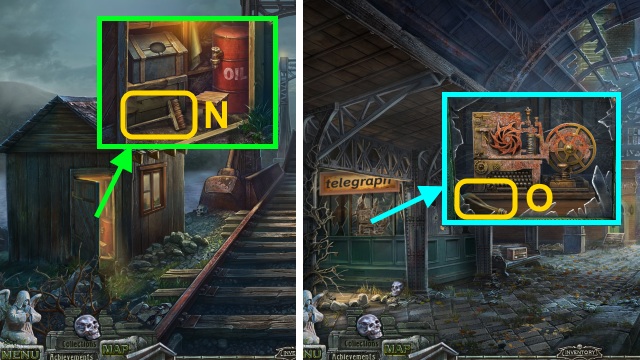
- Open the door; take the BRUSH (N).
- Walk down.
- Use the BRUSH; take the EMPTY BOTTLE (O).
- Walk forward.
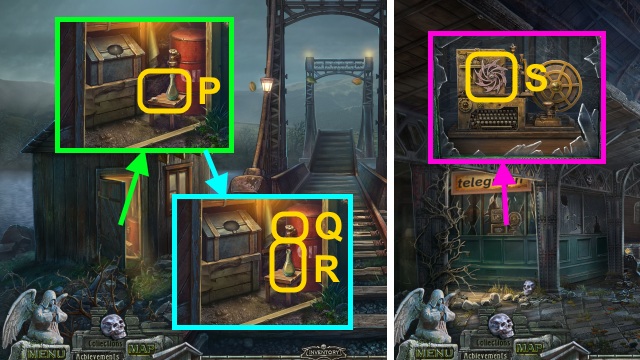
- Place the EMPTY BOTTLE; remove the cork (P).
- Turn the valve (Q).
- Place the cork (R); take the OIL.
- Walk down.
- Use the OIL; take the GEAR PART (S).
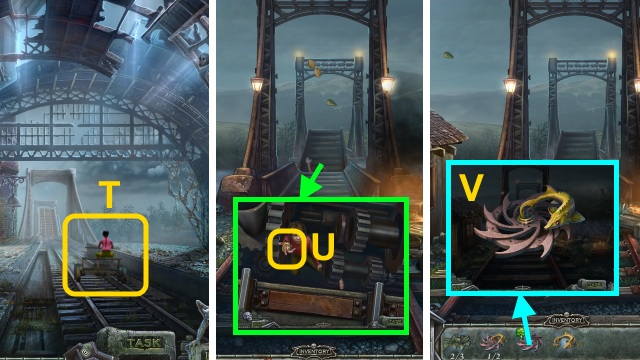
- Examine Ivy (T).
- Walk forward.
- Take the HANDLE (U).
- Combine the GEAR PART and HANDLE (V); take the GEAR (2/2).
- Walk down.
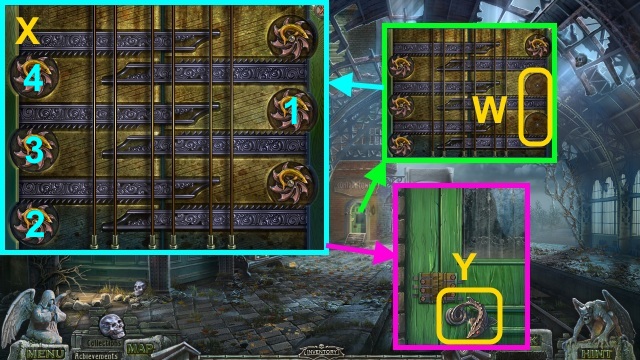
- Place the GEAR (2/2) for a mini-game (W).
- Solution (X).
- Turn the handle (Y).
- Walk forward.
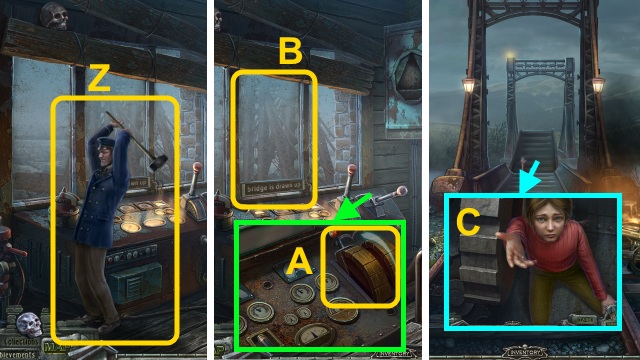
- Examine Rupert (Z).
- Pull the lever (A); receive the LEVER.
- Examine the window (B).
- Walk down, then forward.
- Help Ivy (C).
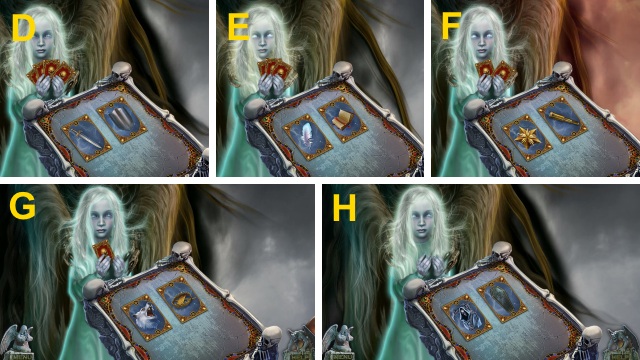
- Select ‘Yes’ for a mini-game.
- Solution (D-H); order is random.
- Receive the CLOCK.
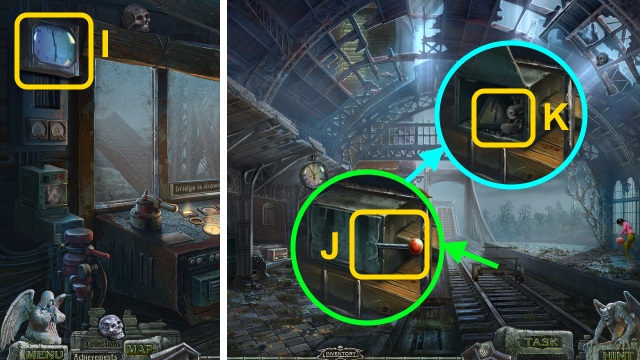
- Examine the clock (I).
- Walk down.
- Use the LEVER (J); take the LOCOMOTIVE and SIGN (K).
- Walk left.
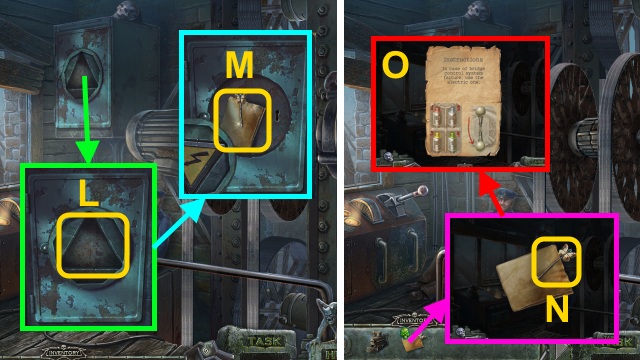
- Place the SIGN (L); turn it.
- Take the PAPER (M).
- Examine the PAPER; take the BARRETTE (N).
- Open the paper; take the INSTRUCTIONS (O).
- Walk down twice.
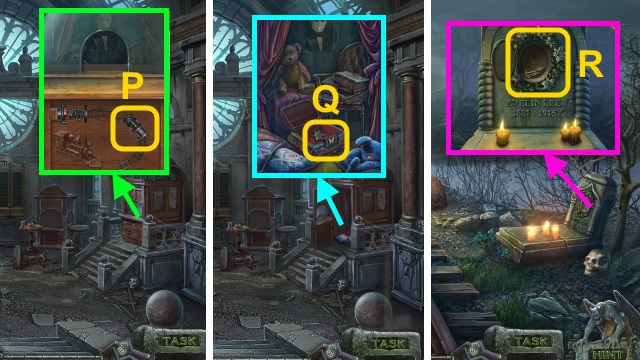
- Place the LOCOMOTIVE (P).
- Place the BARRETTE; take the LILY (3/3) (Q).
- Walk left, then forward.
- Place the LILY (3/3); take the KEYS (R).
- Walk down, then left.
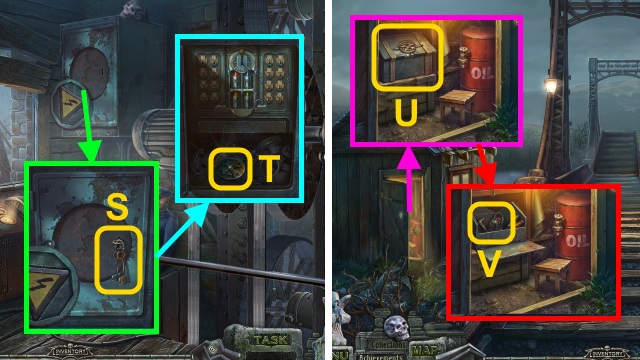
- Use the KEYS (S); take the SYMBOL (T).
- Walk down, then forward.
- Place the SYMBOL; open the box (U).
- Take the WIRES and ALLEN KEY (V).
- Walk down.
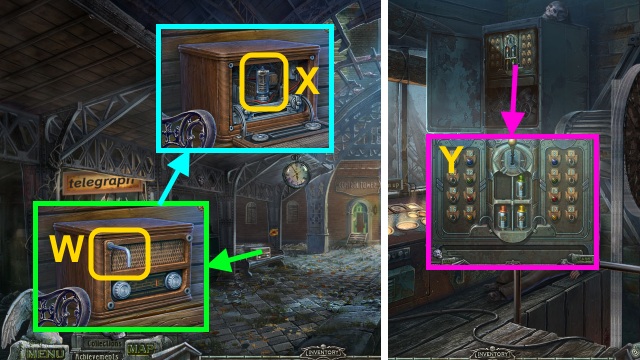
- Use the ALLEN KEY 4x (W); take the FUSE (X).
- Walk left.
- Place the FUSE and INSTRUCTIONS (Y).
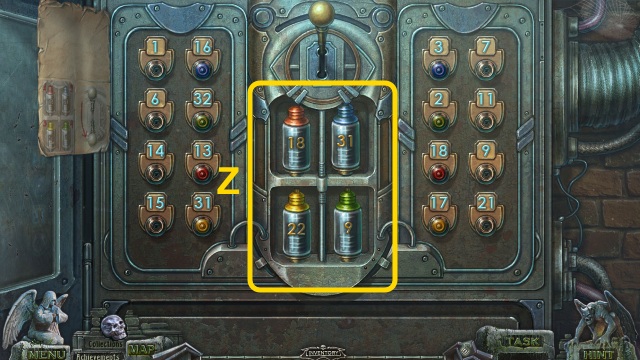
- Arrange the fuses (Z); use the WIRES for a mini-game.
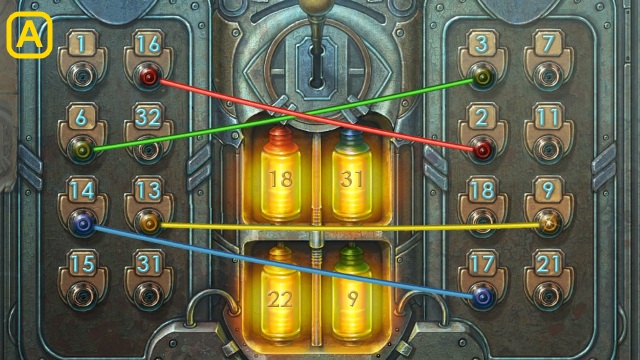
- Solution (A).
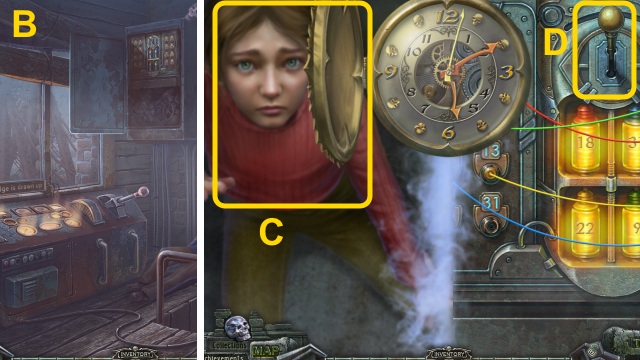
- Use the CLOCK (B).
- Help Ivy (C); pull the lever (D).
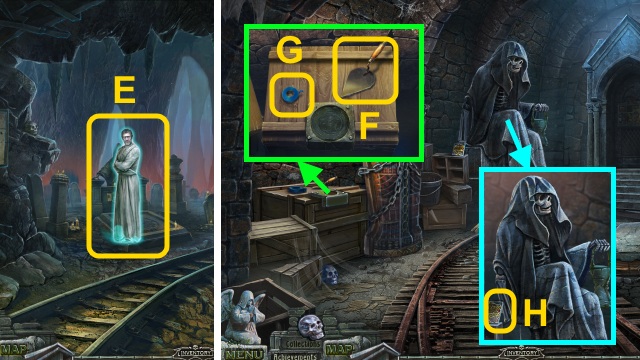
- Talk to Rupert (E).
- Walk right.
- Take the SCRAPER (F) and ELECTRICAL TAPE (G).
- Take the EMBLEM (1/2) (H).
- Walk down.
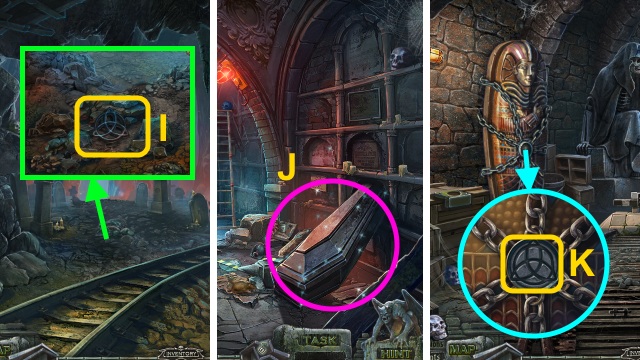
- Move the rocks; take the TRIQUETRA (I).
- Walk down.
- Play the HOP to receive the SKELETAL HAND (J).
- Walk forward, then right.
- Place the TRIQUETRA (K).
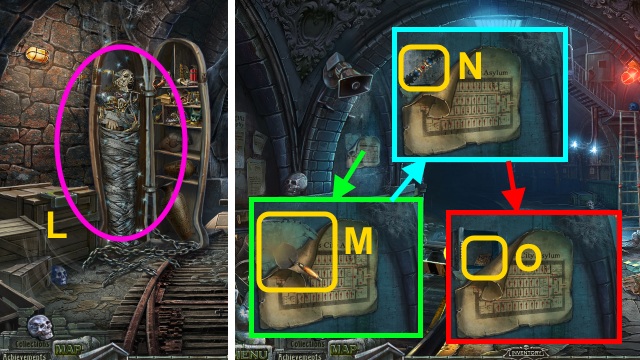
- Play the HOP to receive the SCARAB (L).
- Walk down twice.
- Move the paper; use the SCRAPER (M).
- Place the SCARAB (N); take the EMBLEM (2/2) (O).
- Walk down.
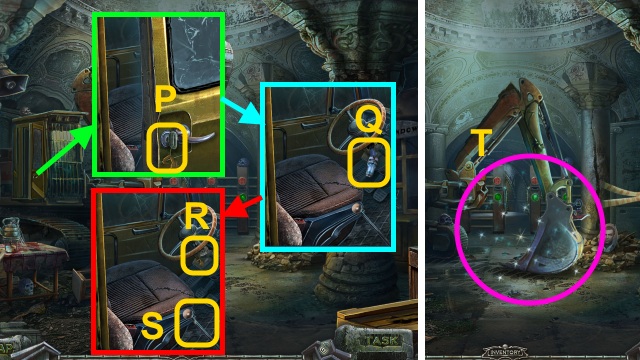
- Take the KEY (P); open the door.
- Use the ELECTRICAL TAPE; place the ignition (Q).
- Use the KEY (R); pull the lever (S).
- Play the HOP to receive the LANTERN (T).
- Walk forward twice, then right.
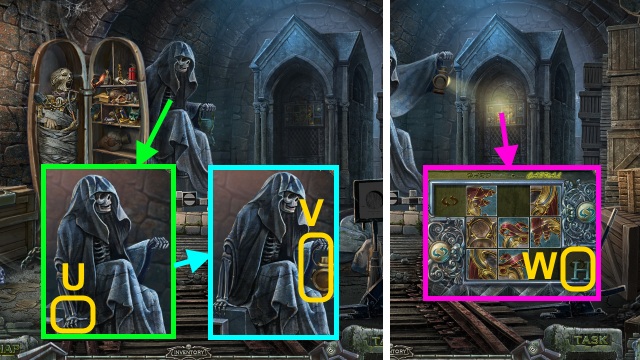
- Place the SKELETAL HAND (U); move the statue.
- Give the LANTERN (V).
- Take the CHARACTER (1/2) (W); place the EMBLEM (2/2) for a mini-game.
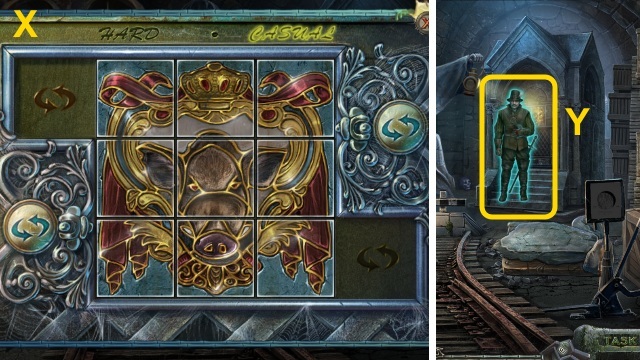
- Solution (X).
- Talk to Lotar (Y).
- Walk forward.
Chapter 3: Wilhelm and Sophia
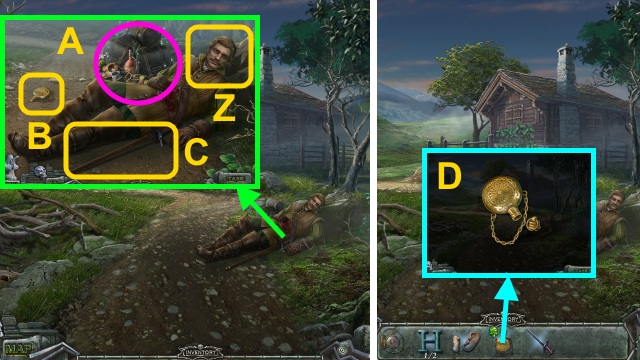
- Talk to Lotar (Z).
- Play the HOP to receive the FLINT (A).
- Take the FLASK (B) and SWORD (C).
- Open the FLASK (D); take the EMPTY FLASK.
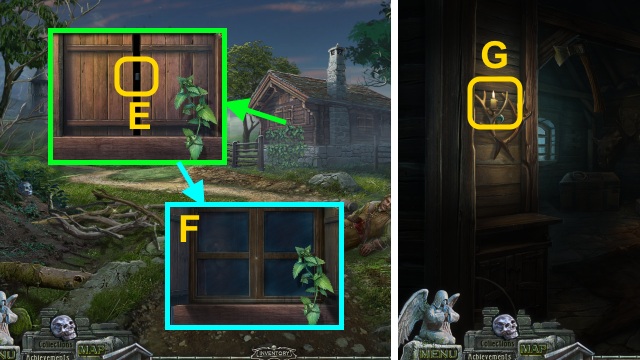
- Use the SWORD (E); open the window (F).
- Go forward.
- Use the FLINT; take the candle (G).
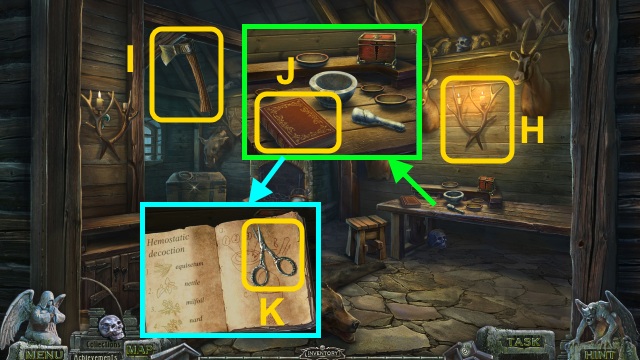
- Light the candles (H).
- Take the AXE (I).
- Read the book (J); take the SILVER SCISSORS (K).
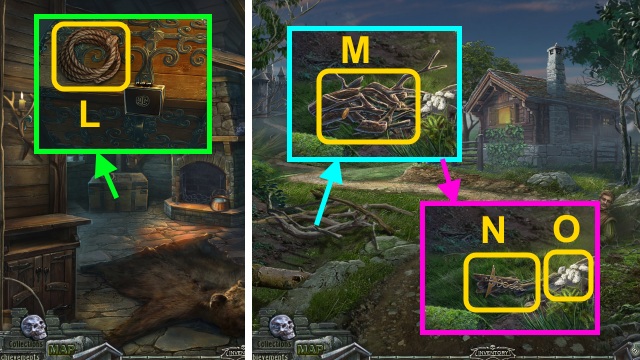
- Take the ROPE (L).
- Walk down.
- Use the AXE; take the FIREWOOD (M).
- Take the CADUCEUS (N); use the SILVER SCISSORS (O).
- Receive the MILFOIL.
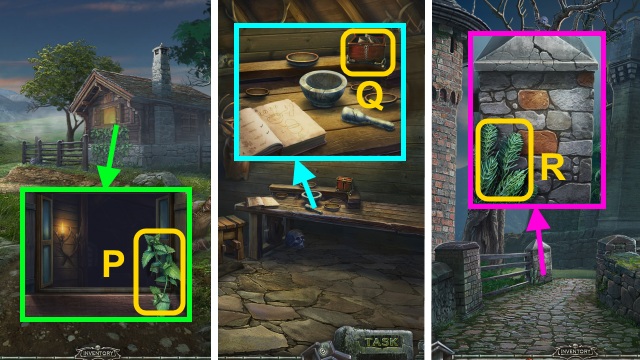
- Use the SILVER SCISSORS (P); receive the NETTLE.
- Walk right.
- Place the CADUCEUS; open the box (Q).
- Take the BANDAGES.
- Walk down, then left.
- Use the SILVER SCISSORS (R); receive the EQUISETUM.
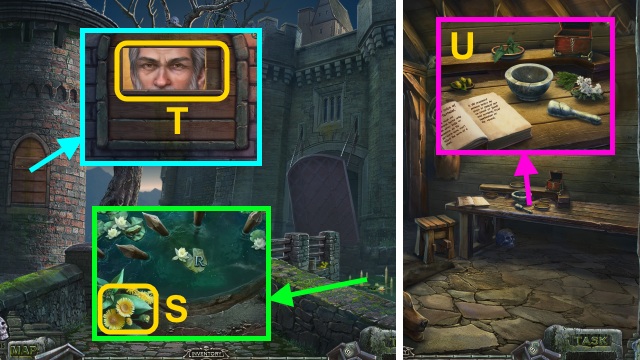
- Use the SILVER SCISSORS (S); receive the NARD.
- Examine the door; talk to the man (T).
- Walk down, then right.
- Place the NETTLE, MILFOIL, NARD, and EQUISETUM (U).
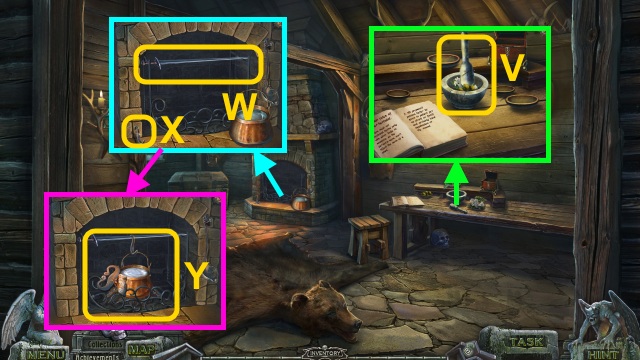
- Place the herbs; use the pestle (V).
- Take the HERBS.
- Place the SWORD (W) and hook (X).
- Place the pot and FIREWOOD; use the FLINT (Y).
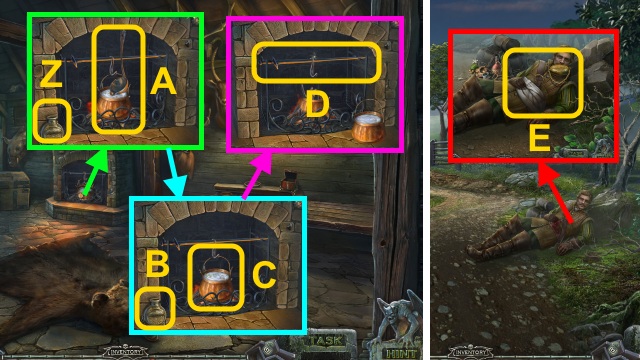
- Use the HERBS and EMPTY FLASK (Z); use the ladle (A).
- Take the DECOCTION (B).
- Use the BANDAGES (C); receive the DECOCTION.
- Remove the pot; take the SWORD (D).
- Walk down.
- Use the DECOCTION; give the DECOCTION (E).
- Talk to Lotar; give the SWORD (F).
- Talk to Lotar; take the LETTER (G).
- Play the HOP to receive the RING (H).
- Walk right.
- Use the RING (I); open the chest.
- Read the letter (J); take the CLAWS.
- Open the case; take the PASS (K).
- Walk down, then left.
- Give the PASS and RING (L); talk to the man.
- Take the CROSSBOW BOLT (M).
- Combine the CROSSBOW BOLT and ROPE (N); take the GRAPPLING HOOK.
- Examine the woodpecker (O).
- Use the CLAWS 4x (P).
- Place the GRAPPLING HOOK (Q); examine it for a mini-game.
- Use the arrows to swing, then jump (R).
- Talk to the Wilhelm; take the CUP (S).
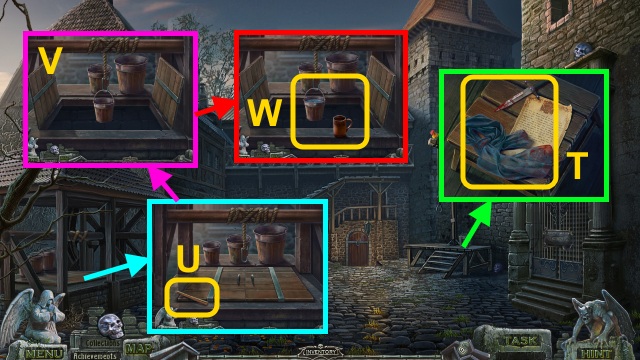
- Take the BLOODIED SHAWL and DAGGER (T).
- Take the STICK (U); open the door.
- Place the bucket (V); lower it.
- Raise the bucket; place the CUP (W).
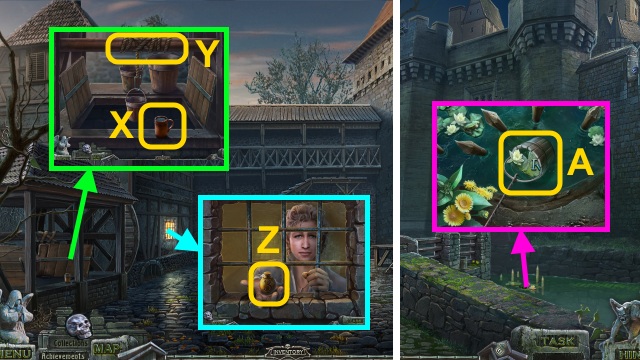
- Pour the water; take the WATER (X).
- Use the DAGGER (Y); receive the EMPTY BUCKET.
- Give the WATER; take the WEIGHT (1/3) (Z).
- Walk down.
- Use the EMPTY BUCKET (A); receive the CHARACTER (2/2).
- Go forward.
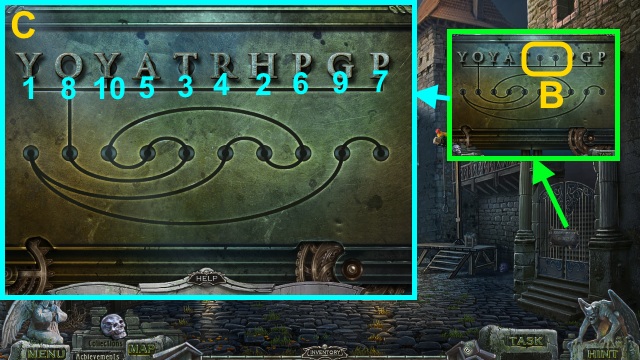
- Place the CHARACTER (2/2) for a mini-game (B).
- Solution (C).
- Walk right.
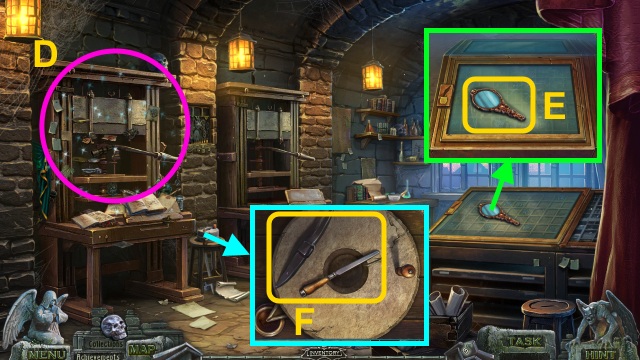
- Play the HOP to receive the WEIGHT (2/3) (D).
- Take the MIRROR (E).
- Take the FILE and PEEN PICK (F).
- Place the STICK on the PEEN PICK (G); take the PICK.
- Walk down twice.
- Use the PICK; take the CINNABAR (H).
- Walk down, then right.
- Move the candle; use the FILE (I).
- Take the HORN and LILY.
- Go to the Courtyard.
- Place the LILY; open the lantern (J).
- Examine the flame; take the OIL (K).
- Walk right.
- Place the CINNABAR (L); turn the handle (M).
- Take the CINNABAR POWDER (N).
- Place the HORN; turn the handle (O).
- Take the HORN POWDER.
- Place the BLOODIED SHAWL, CINNABAR POWDER, HORN POWDER, and OIL (P).
- Pour the oil; stir the mixture (Q).
- Place the paint (R); use the reagent (S).
- Take the BLOODIED SHAWL (T).
- Use the DAGGER; take the WEIGHT (3/3) (U).
- Place the WEIGHT (3/3) for a mini-game (V).
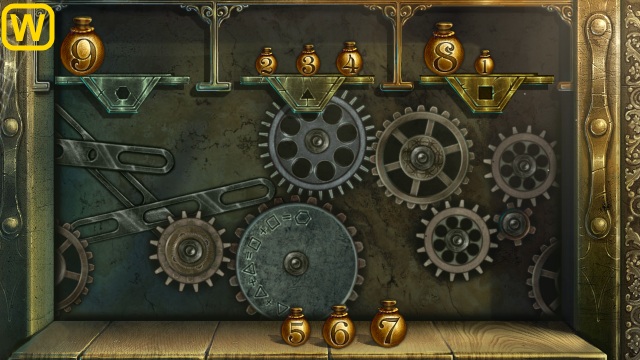
- Solution (W).
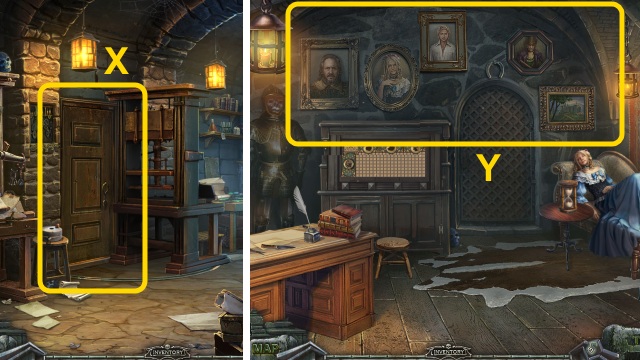
- Open the door (X).
- Walk left.
- Examine the paintings; rearrange them (Y).
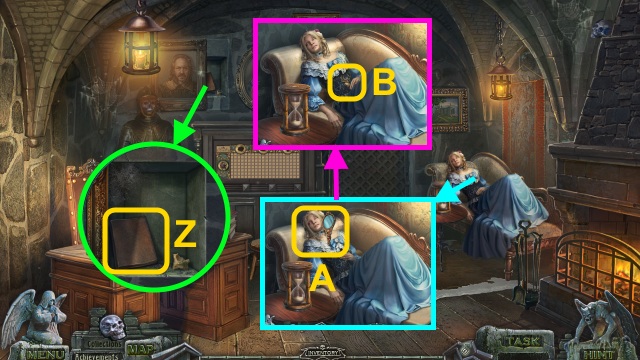
- Take the DIARY (Z).
- Use the MIRROR (A).
- Take the DEER (B).
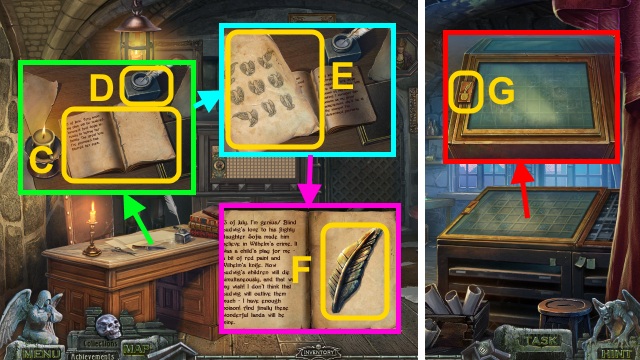
- Place the DIARY; open it (C).
- Use the quill (D).
- Move the paper; take the CODE (E).
- Read the diary; take the FEATHER (F).
- Walk down.
- Place the FEATHER (G); turn the lock.
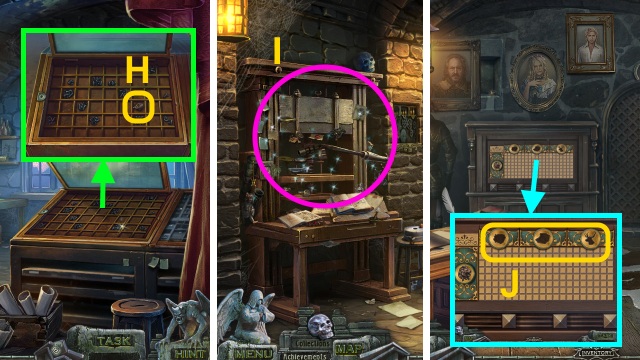
- Open the case; take the BOAR (H).
- Play the HOP to receive the BEAR (I).
- Walk left.
- Place the DEER, BOAR, and BEAR for a mini-game (J).
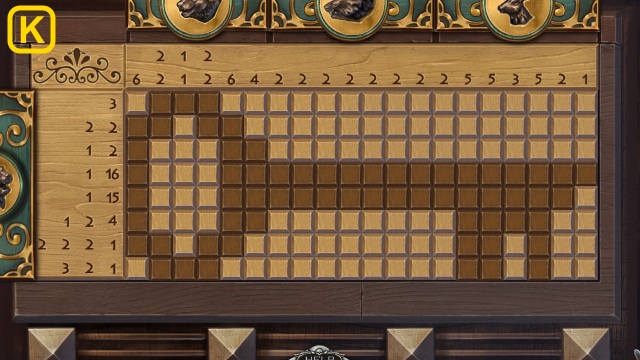
- Solution (K).
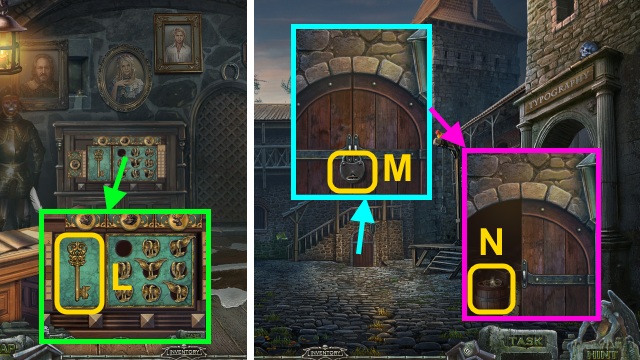
- Take the CELLAR KEY (L).
- Go to the Courtyard.
- Use the CELLAR KEY (M); take the EAGLE and POWDER (N).
- Walk right, then forward.
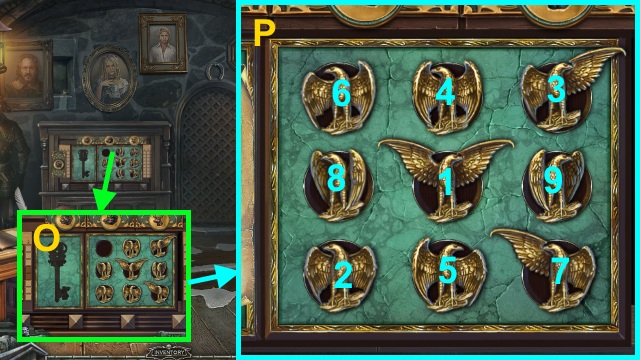
- Place the CODE and EAGLE for a mini-game (O).
- Solution (P).
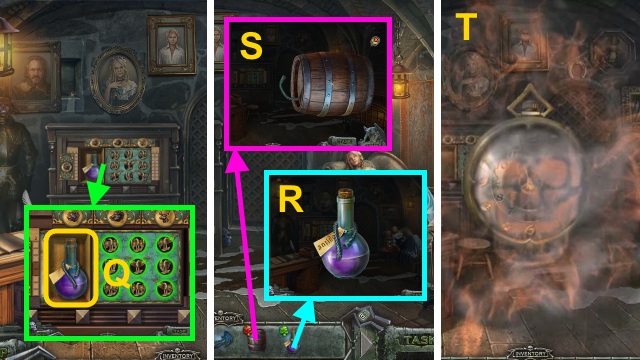
- Take the VIAL (Q).
- Examine the VIAL; take the WICK and ANTIDOTE (R).
- Combine the WICK and POWDER (S); take the POWDER.
- Use the CLOCK (T).
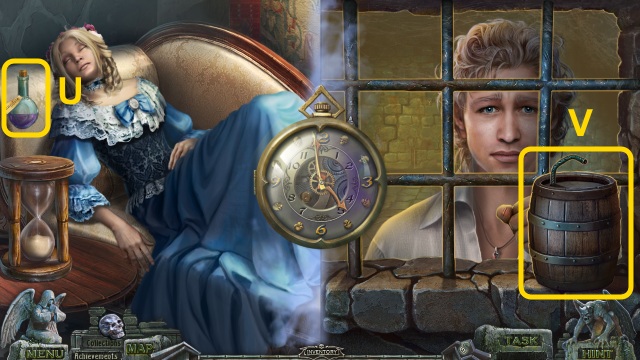
- Give the ANTIDOTE (U).
- Place the POWDER (V); use the FLINT.
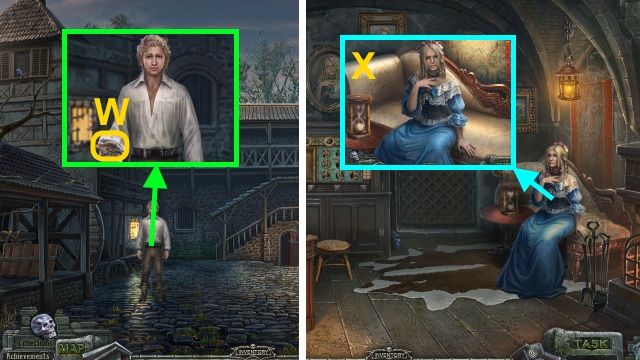
- Talk to Wilhelm; take the CROSS (W).
- Walk right, then forward.
- Talk to Sophia (X).
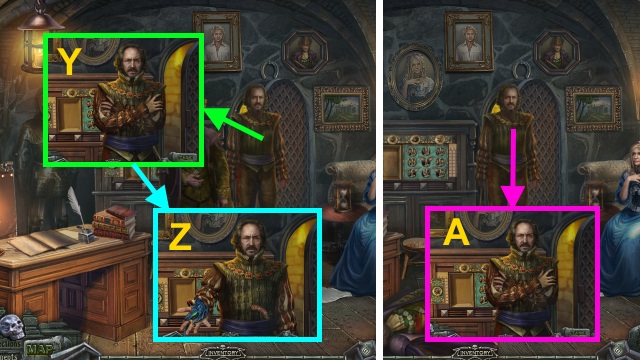
- Talk to Ludwig (Y); give the letter.
- Talk to Ludwig; give the BLOODIED SHAWL (Z).
- Give the CROSS (A).
Chapter 4: Leticia
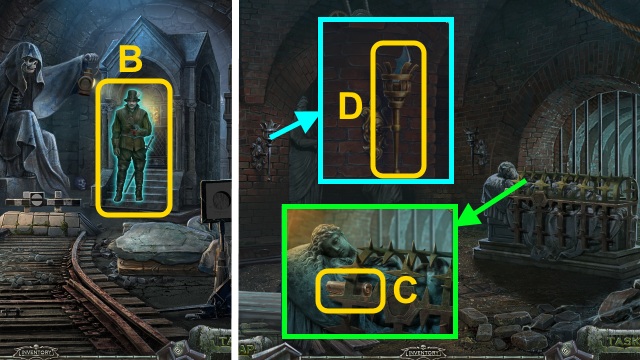
- Talk to Lotar (B).
- Walk forward.
- Take the MASK DRAWING (C).
- Take the SPLINTER and TORCH (D).
- Walk down.
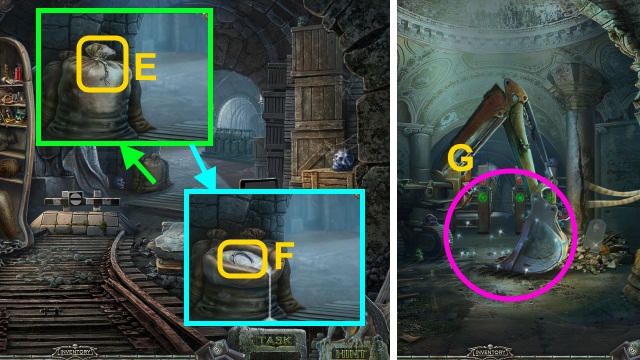
- Use the SPLINTER (E); open the bag.
- Take the FRAME (F).
- Walk down three times.
- Play the HOP to receive the HAMMER (G).
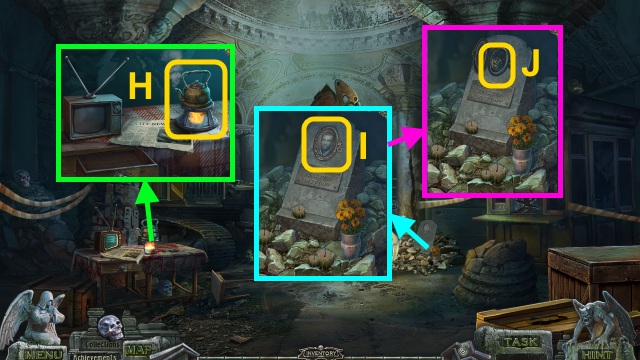
- Take the BOILING WATER (H); use the TORCH.
- Receive the BURNING TORCH.
- Place the FRAME (I); open the portrait.
- Take the SYMBOL (J).
- Go to the Dungeon Museum.
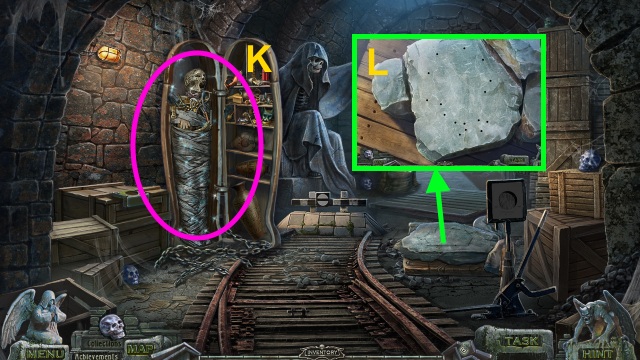
- Play the HOP to receive the TOOL KIT (K).
- Place the MASK DRAWING, HAMMER, and TOOL KIT for a mini-game (L).
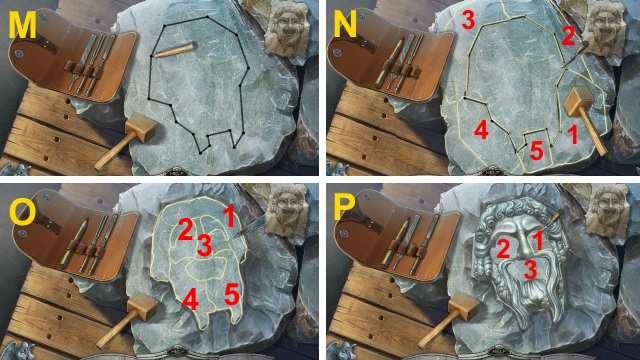
- Solution (M-P).
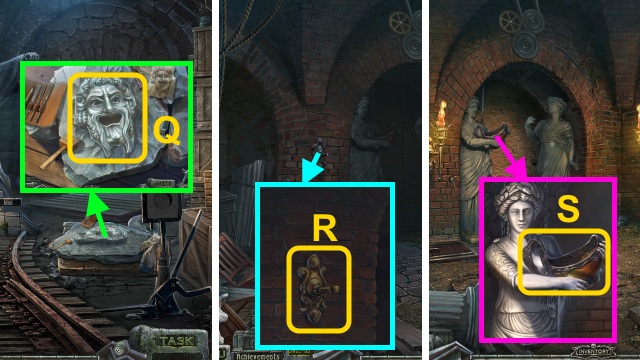
- Take the MASK (Q).
- Walk forward.
- Place the BURNING TORCH (R).
- Take the BOWL (S); give the MASK.
- Walk down.
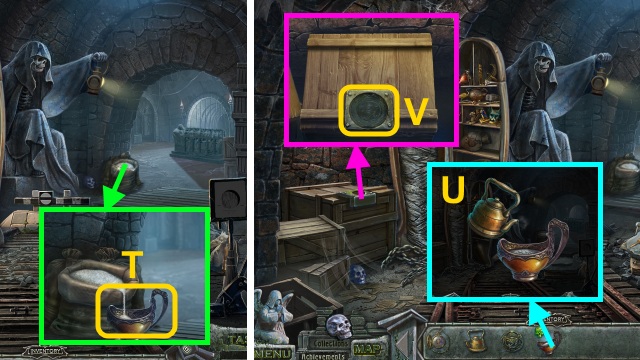
- Place the BOWL (T); receive the GYPSUM.
- Combine the GYPSUM and BOILING WATER (U); take the GYPSUM MORTAR.
- Place the SYMBOL (V); open the crate.
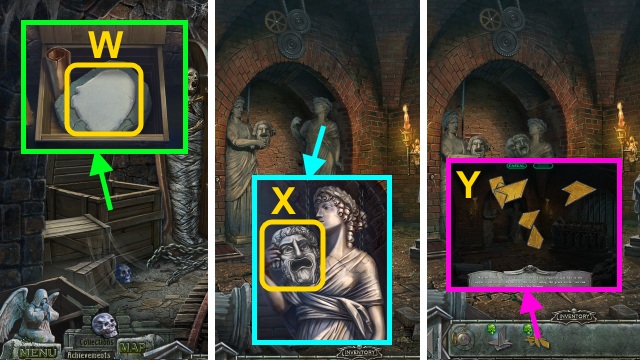
- Pour the GYPSUM MORTAR (W); receive the MASK.
- Walk forward.
- Give the MASK (X); play the HOP to receive the T and H.
- Examine the H for a mini-game (Y).
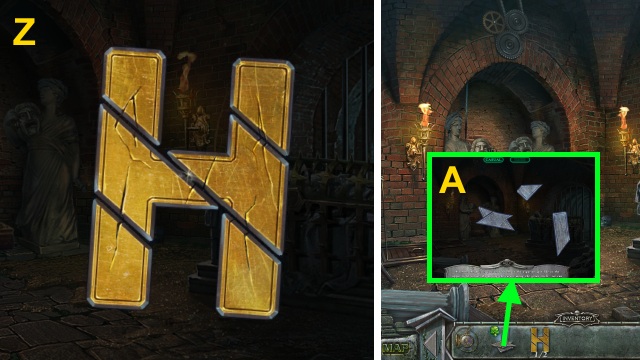
- Solution (Z); take the H (1/2).
- Examine the T for a mini-game (A).
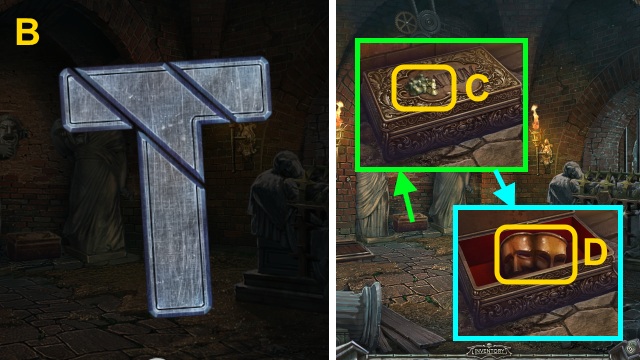
- Solution (B); take the T (2/2).
- Take the STUDS (C); place the H (2/2).
- Open the chest; take the MASKS (D).
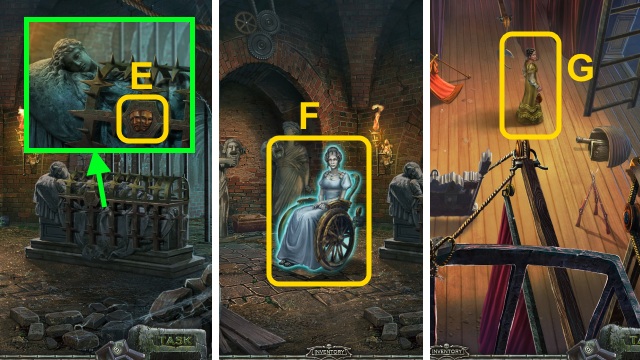
- Place the MASKS (E); examine them.
- Talk to Leticia (F).
- Walk forward.
- Examine Vanessa (G).
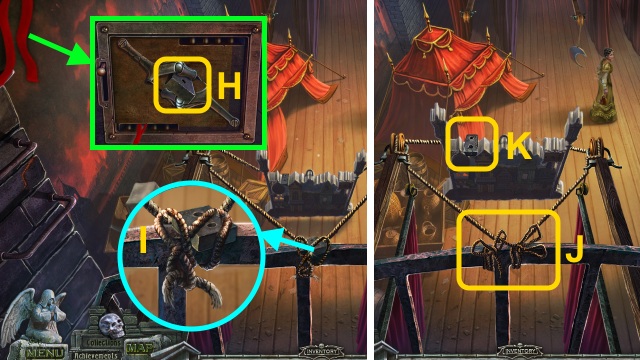
- Take the PLUMMET (1/3) (H).
- Untie the rope; take the PLUMMET (2/3) (I).
- Tie the rope (J); take the PLUMMET (3/3) (K).
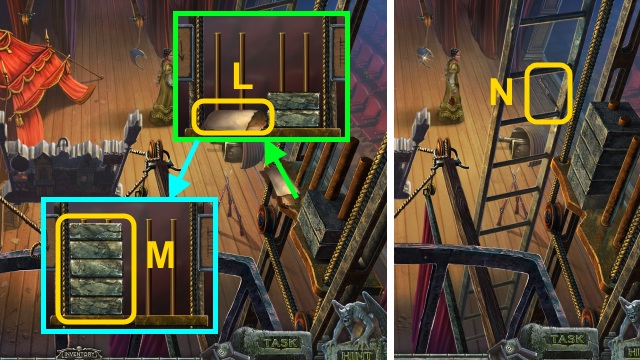
- Read the note (L).
- Move the weights; place the PLUMMET (3/3) (M).
- Take the BROKEN SCISSORS (N).
- Go down.
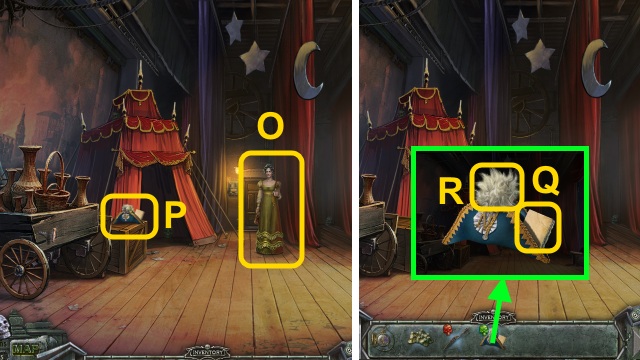
- Talk to Vanessa (O).
- Take the HAT (P).
- Examine the HAT; read the note (Q).
- Take the PIN (R).
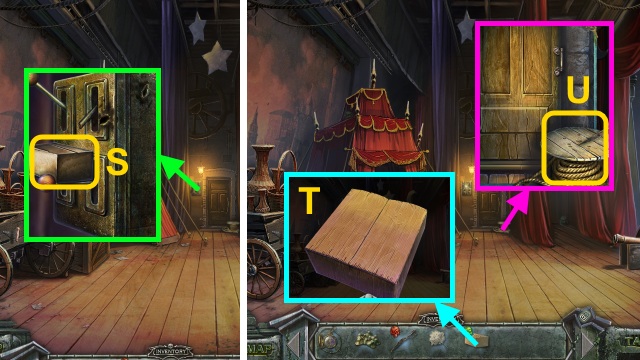
- Take the BOLT BOX (S).
- Open the BOLT BOX (T); play the HOP to receive the BOLT.
- Take the BROKEN SCISSORS and ROPE (U).
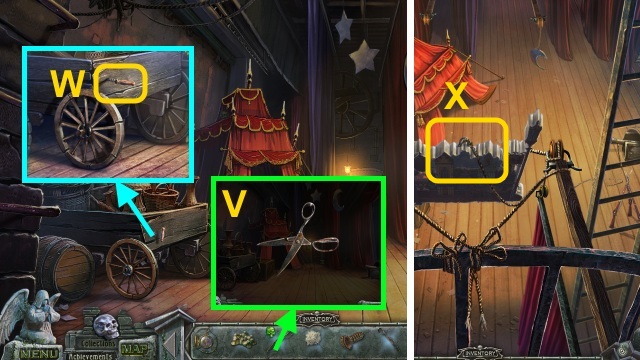
- Combine the two BROKEN SCISSORS and BOLT (V); take the SCISSORS.
- Take the CORKSCREW (W).
- Walk down.
- Place the ROPE (X).
- Go down.
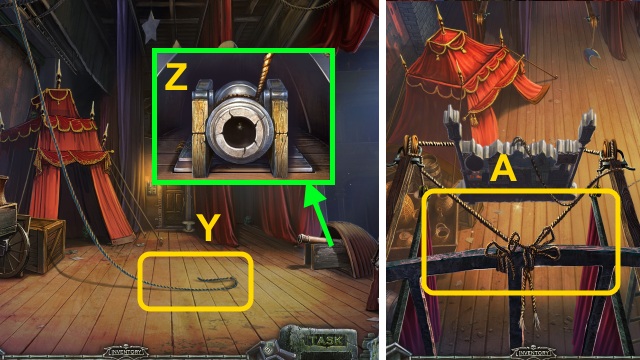
- Move the rope to the canon (Y); attach the rope (Z).
- Walk down.
- Use the SCISSORS (A).
- Go down.
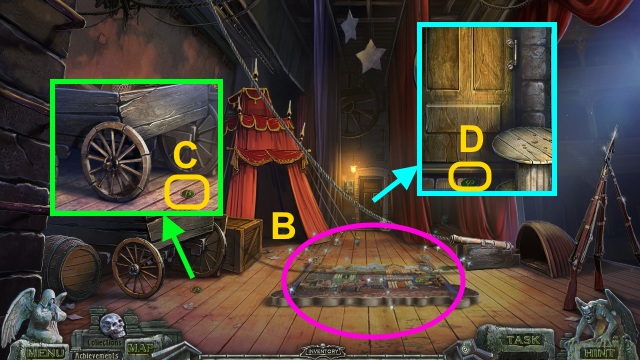
- Play the HOP to receive the LOCK CODE (B).
- Take the LOCK PART (1/3) (C).
- Take the LOCK PART (2/3) (D).
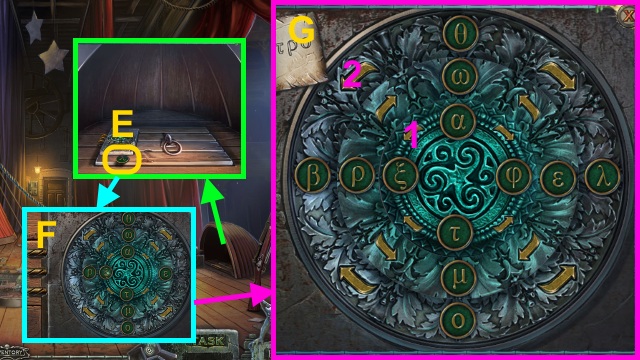
- Take the LOCK PART (3/3) (E).
- Place the LOCK PART (3/3) and LOCK CODE for a mini-game (F).
- Solution (G).
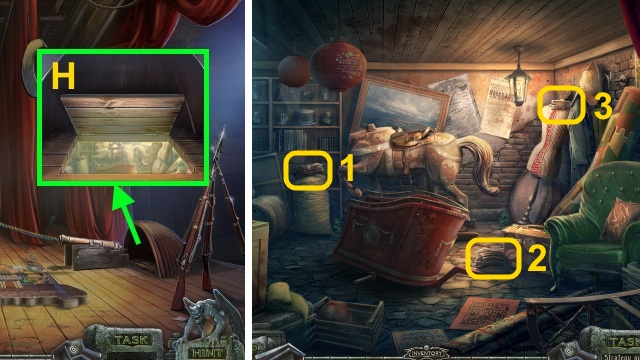
- Open the trapdoor (H).
- Go down.
- Take the WASTEPAPER (1/3)-(3/3) (1-3).
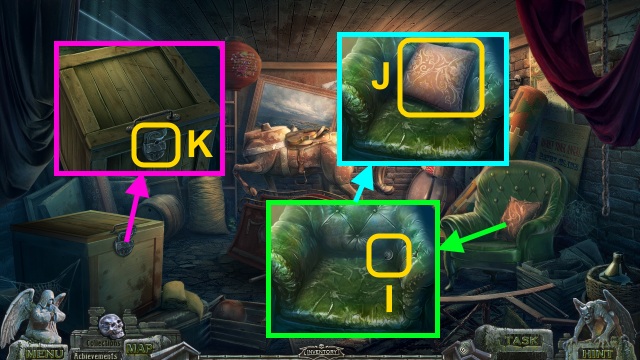
- Move the pillow (I); take the CHIP (1/2) (J).
- Use the PIN (K); remove the lock.
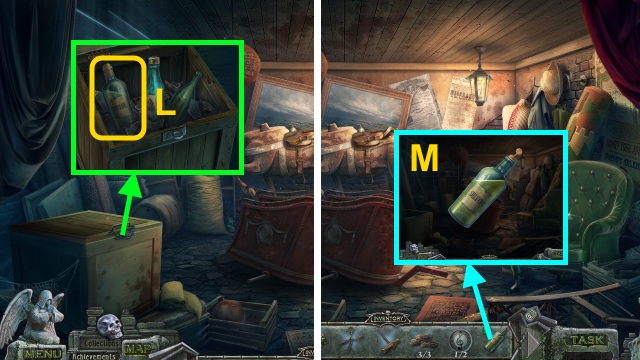
- Open the crate; take the BOTTLE OF BENZENE (L).
- Use the CORKSCREW on the BOTTLE OF BENZENE (M); take the BENZENE.
- Walk down.
Chapter 5: The Final Choice
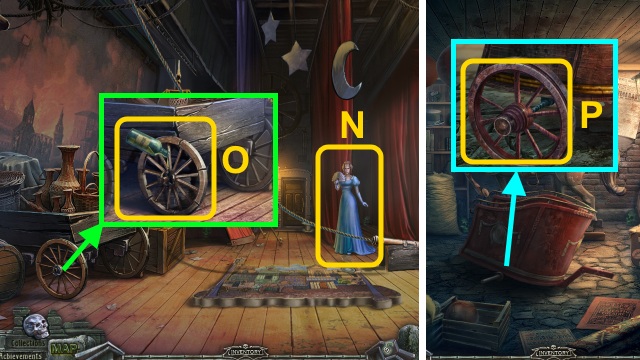
- Talk to Leticia (N).
- Place the WASTEPAPER; use the BENZENE (O).
- Take the WHEEL.
- Go right.
- Place the WHEEL (P); attach it.
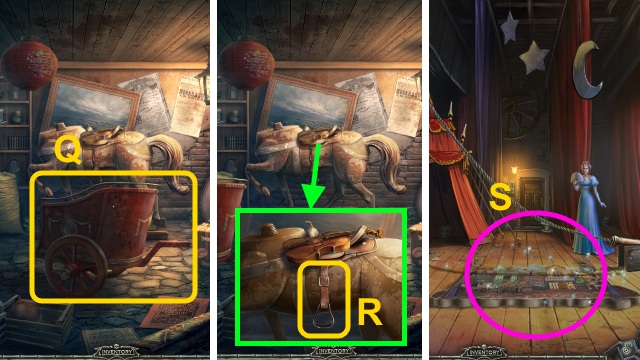
- Push the chariot (Q).
- Take the STIRRUP (R).
- Walk down.
- Play the HOP to receive the DOOR CODE (S).
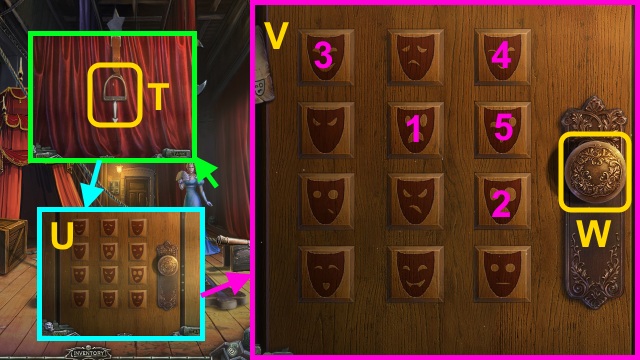
- Place the STIRRUP (T); pull it.
- Place the DOOR CODE for a mini-game (U).
- Solution (V).
- Open the door (W).
- Walk forward.
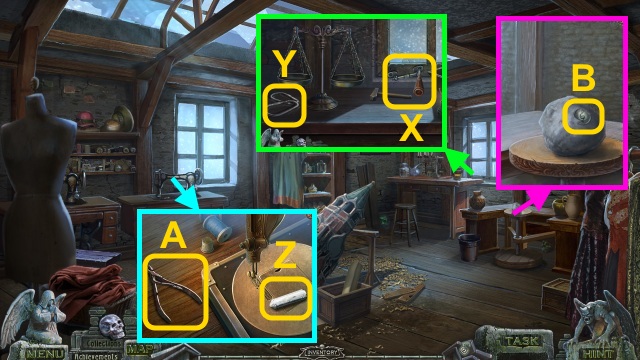
- Use the screwdriver; receive the SCREWDRIVER (X).
- Take the CARBINER (Y).
- Take the CHALK (Z) and SMALL CUTTERS (A).
- Take the CHIP (2/2) (B).
- Walk down.
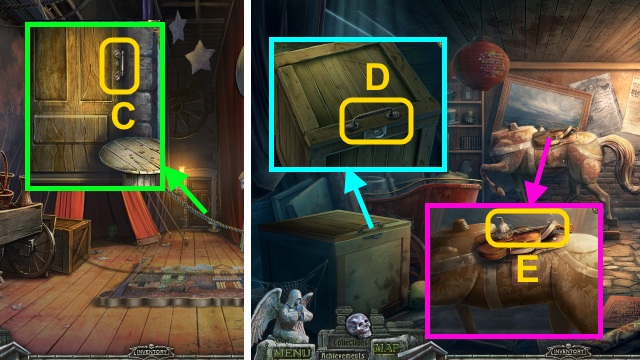
- Use the screwdriver 2x; take the HANDLE (C).
- Go down the trapdoor.
- Use the SCREWDRIVER; take the HANDLE (D).
- Use the SMALL CUTTERS; take the STRING (E).
- Walk down twice.
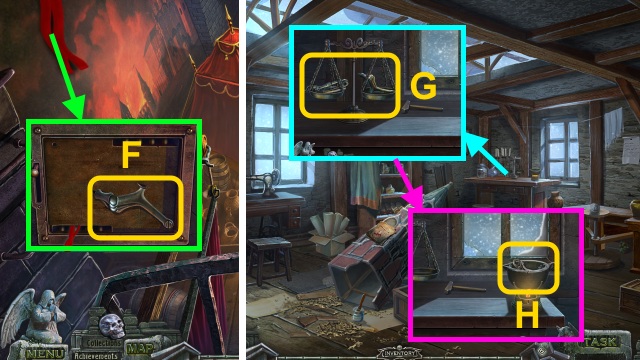
- Use the SCREWDRIVER (F); take the PAW.
- Go to the Workshop.
- Place the latch, HANDLES, and PAW (G); take the PAW.
- Place the latch and handles (H).
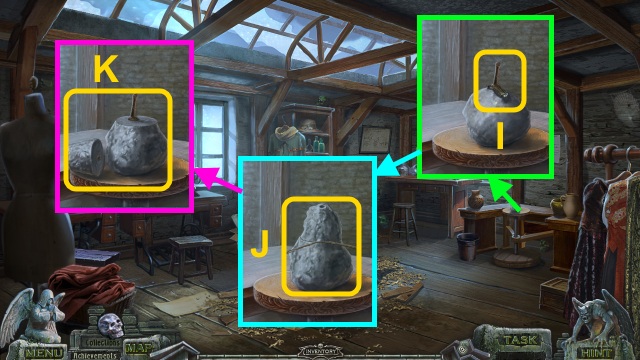
- Place the PAW (I); mold the clay 2x.
- Use the STRING (J).
- Remove the clay; take the PAW and FORM (K).
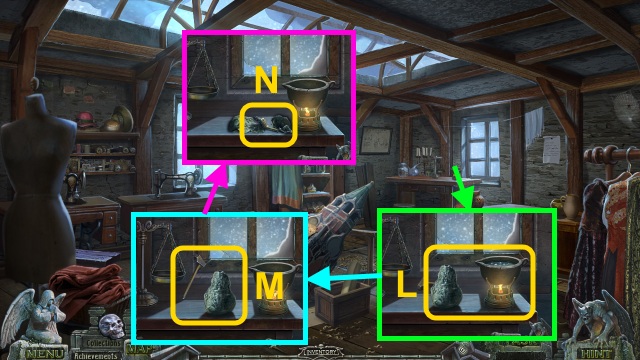
- Place the FORM; pour the metal (L).
- Examine the mold x2; use the hammer (M).
- Take the PAW (2/2) (N).
- Go to Left Backstage.
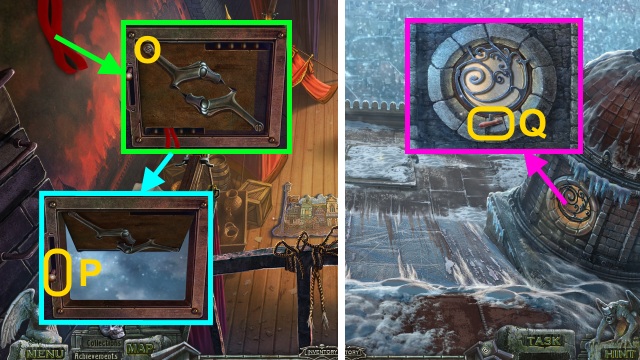
- Place the PAW (2/2) (O); Use the SCREWDRIVER 2x.
- Pull the lever (P); open the door.
- Go forward.
- Take the STICK (Q).
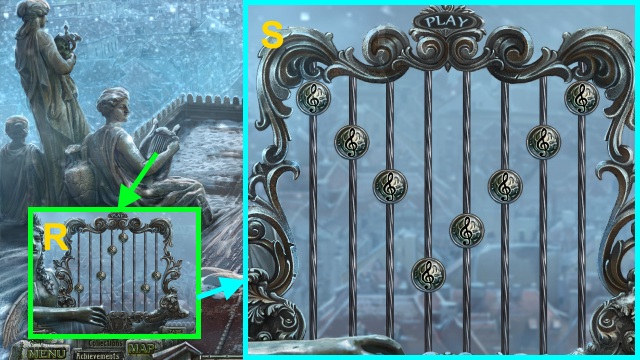
- Place the CHIP (2/2) for a mini-game (R).
- Solution (S).
- Receive the RULER.
- Go to Under Stage.
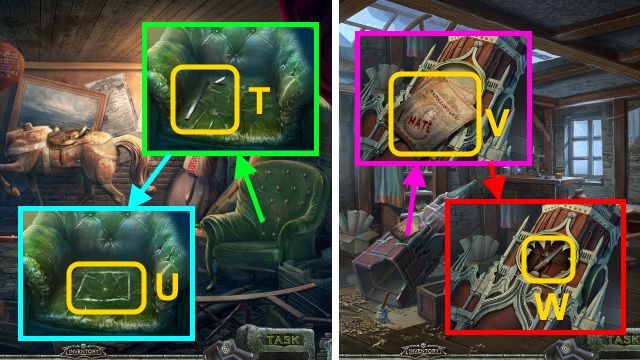
- Use the CHALK and RULER (T).
- Use the SCISSORS (U); receive the LEATHER.
- Go to the Workshop.
- Read the posters (V).
- Examine the clock; place the STICK (W).
- Take the FILE.
- Go to the Theater Roof.
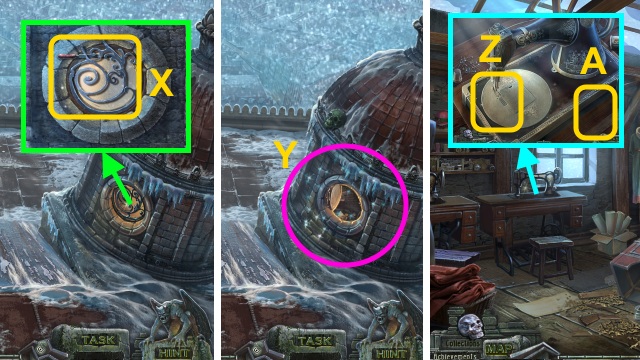
- Use the FILE 4x (X); remove the grate.
- Open the window; play the HOP to receive the ICESHOE DRAWING (Y).
- Go to the Workshop.
- Place the LEATHER (Z) and ICESHOE DRAWING (A) for a mini-game.
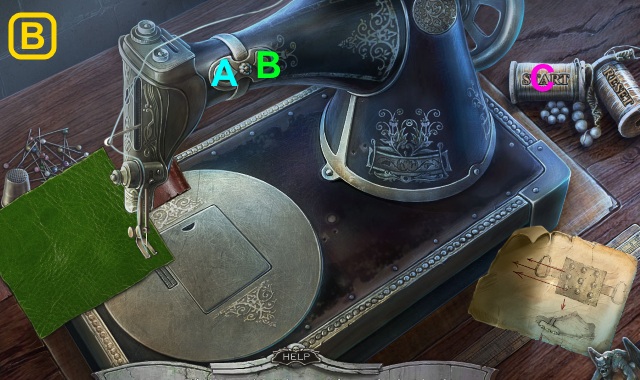
- Solution (B): C-Ax2-C-Ax2-C-Ax2-C-A-C-Ax2-C-Ax2-C-Bx2-C-Bx2-C-Bx2-C.
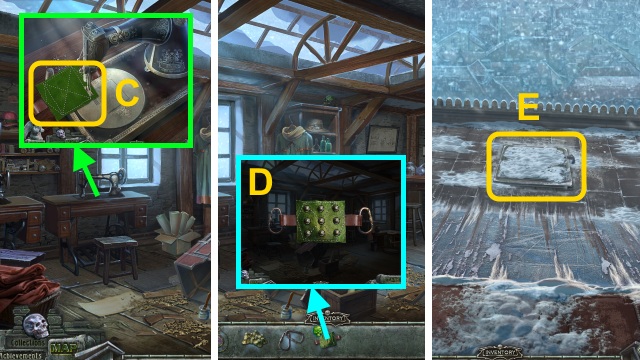
- Take the LEATHER (C).
- Combine the LEATHER, CARBINER, and STUDS (D); take the ICESHOE.
- Go to the Theater Roof.
- Use the ICESHOE (E).
- Examine the snow 3x; take the SNOWBALL and RESPIRATOR (F).
- Go to the Workshop.
- Place the SNOWBALL (G); take the WATER.
- Go to Under Stage.
- Open the crate; use the RESPIRATOR (H).
- Open the bottle; pour the water (I).
- Take the ACID.
- Go to the Theater Roof.
- Play the HOP to receive the KEY (J).
- Pour the ACID (K).
- Use the KEY (L); open the hatch.
- Go forward.
- Take the BAG (M).
- Walk down twice.
- Use the BAG (N); receive the PLUMMET.
- Walk left, then forward.
- Place the PLUMMET (O).
- Take the HOOK (P).
- Go down, then left.
- Examine Vanessa (Q).
- Take the GUN and ROPE (R).
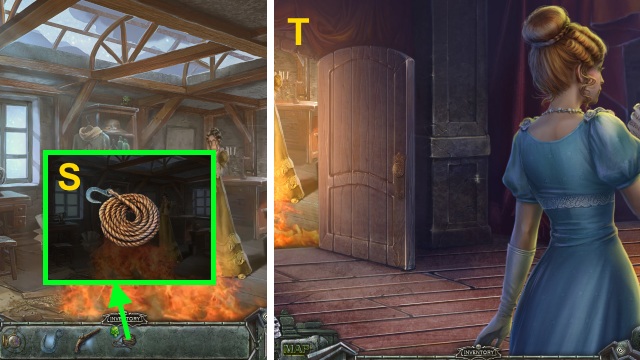
- Combine the ROPE and HOOK; take the ROPE WITH HOOK (S).
- Walk down.
- Select ‘Save both’; use the CLOCK (T).
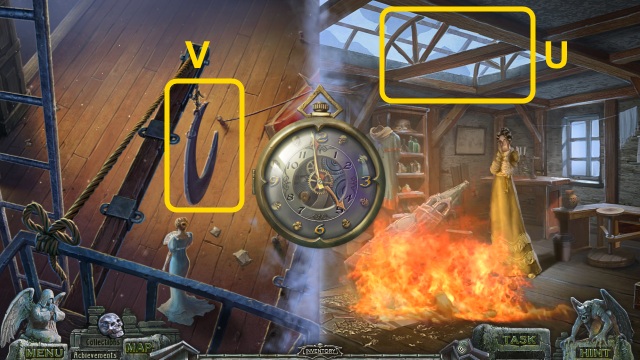
- Use the GUN (U) and ROPE WITH HOOK (V).
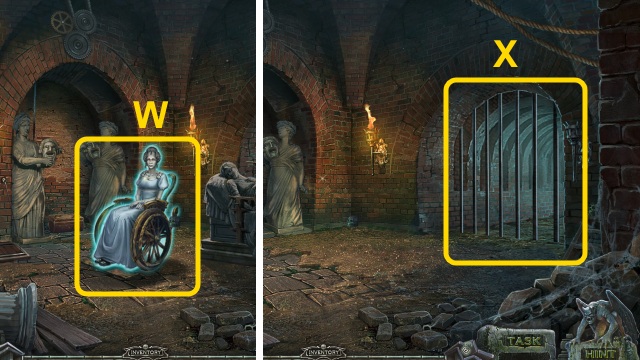
- Talk to Leticia (W).
- Examine the gate (X).
- Congratulations! You have completed Redemption Cemetery: Clock of Fate.
Bonus Chapter: